The Complete Guide to Composting for Beginners: What Actually Works
Quick Answer: Successful composting comes down to a roughly 2:1 to 3:1 ratio of ‘browns’ (dry, carbon-rich materials like leaves and cardboard) to ‘greens’ (wet, nitrogen-rich material like food scraps), adequate moisture, and regular turning for airflow. Most failed compost bins are missing one of those three things, not doing something exotic wrong.
You started a compost bin with good intentions, tossed in vegetable scraps for a few weeks, and now you have a smelly, slimy pile that shows no sign of turning into the crumbly, earthy soil amendment you were promised. The good news: composting failures almost always trace back to one of three fixable issues, not a fundamentally flawed setup.
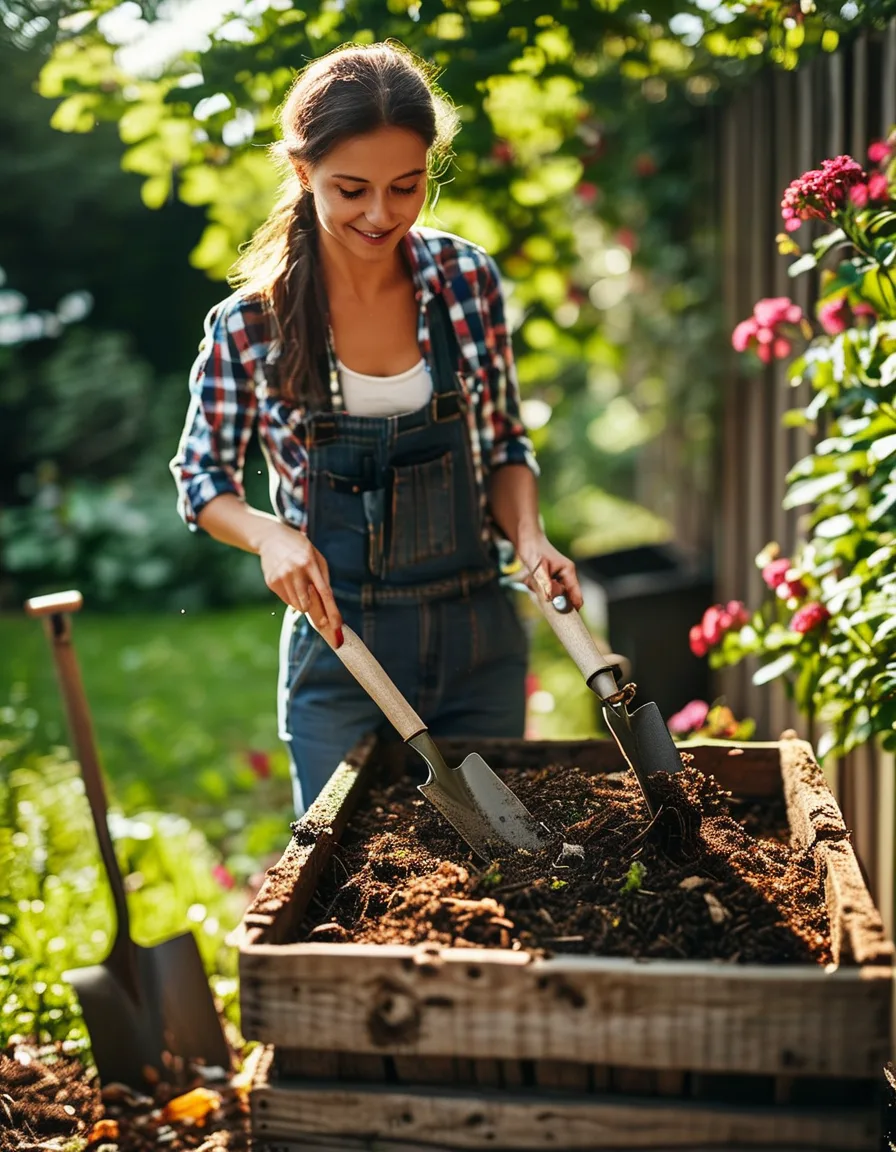
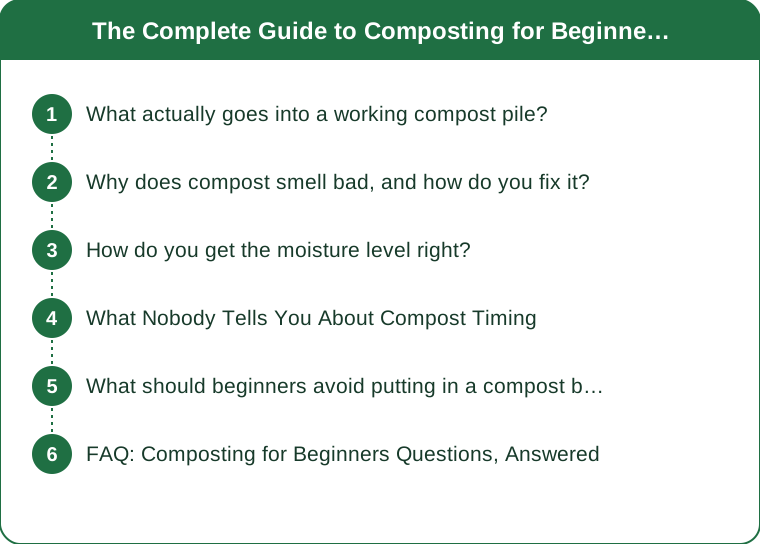
What actually goes into a working compost pile?
Compost needs a balance of two material types. ‘Browns’ are dry, carbon-rich: dried leaves, cardboard, straw, shredded paper. ‘Greens’ are wet, nitrogen-rich: vegetable scraps, coffee grounds, fresh grass clippings.
The target ratio is roughly 2-3 parts browns to 1 part greens by volume, not by weight. Most beginner bins fail because they’re greens-heavy — all kitchen scraps, no dry material — which leads directly to the smell and slime problem almost every new composter runs into first.
A practical habit: keep a bag of dried leaves or shredded cardboard next to your kitchen scrap bin, and add a handful of browns every time you add greens. This single habit solves more compost problems than any other single fix.
Why does compost smell bad, and how do you fix it?
A properly balanced, aerated compost pile should smell earthy, not foul. A sour or ammonia-like smell almost always means too many greens and not enough airflow — the pile has gone anaerobic, meaning the wrong type of bacteria (the smelly kind) has taken over from the beneficial aerobic bacteria that break material down cleanly.
The fix is twofold: add a generous layer of dry browns immediately to rebalance the ratio, and turn the pile with a garden fork to reintroduce oxygen. A pile that’s turned every 1-2 weeks rarely develops persistent odor problems, because regular turning keeps aerobic bacteria dominant.
If the smell persists after both fixes, check moisture — a pile that’s too wet (soggy, dripping when squeezed) compounds the airflow problem even with enough browns added, so you may need to add more dry material than usual to soak up excess moisture.
How do you get the moisture level right?
Compost should feel like a wrung-out sponge — damp enough that a squeezed handful holds together slightly, but not dripping. Too dry and the microbial breakdown process slows to a crawl; too wet and you’re back in smelly, anaerobic territory.
In dry climates or hot summer weeks, an occasional light watering of the pile helps. In wet climates or rainy seasons, a simple cover (a tarp, or a lid on an enclosed bin) prevents the pile from becoming waterlogged. Checking moisture with a simple hand-squeeze test every time you add material takes seconds and prevents most moisture-related stalls before they start.
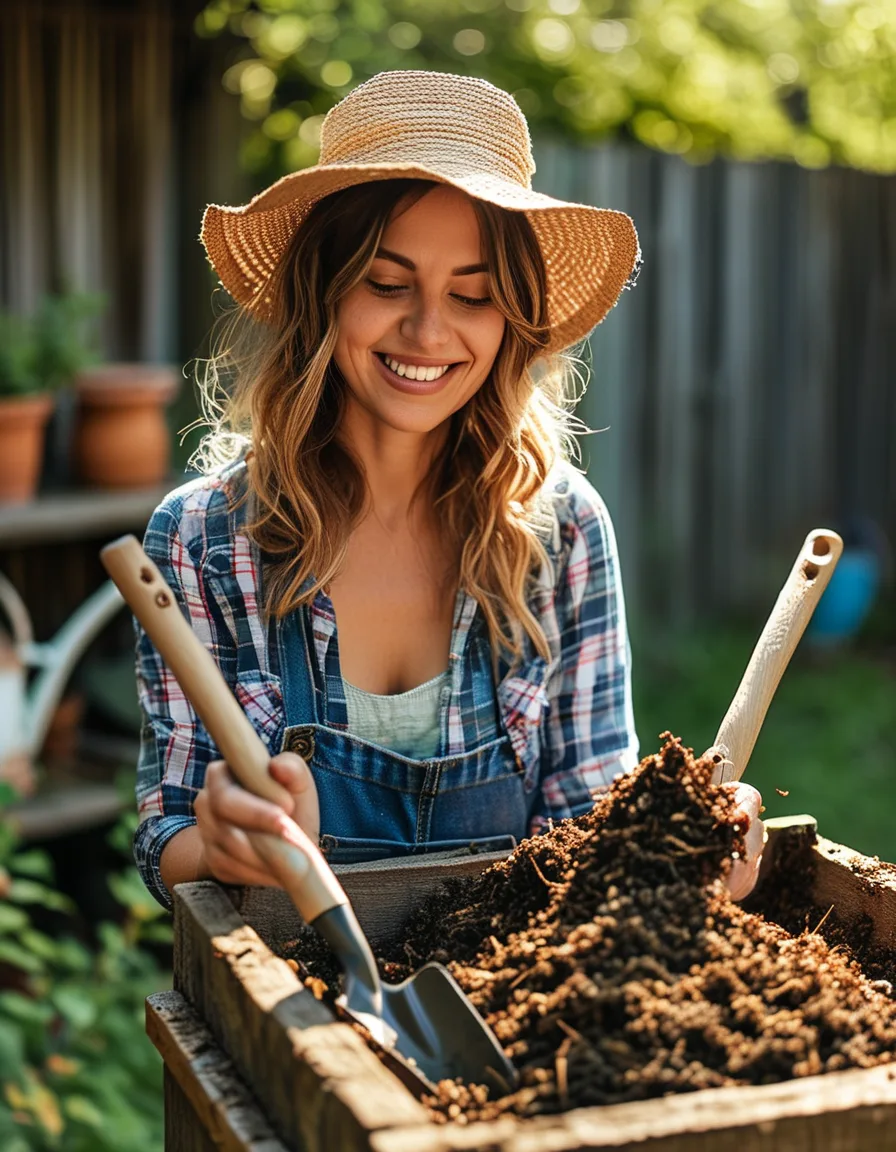
What Nobody Tells You About Compost Timing
Compost doesn’t finish on a fixed calendar — a well-managed, actively turned pile can produce usable compost in as little as 6-8 weeks, while a passive, rarely-turned pile can take 6-12 months for the same result. The difference isn’t the ingredients; it’s turning frequency and particle size.
Chopping kitchen scraps and browns into smaller pieces before adding them dramatically speeds up breakdown, since smaller surface area gives bacteria more access per volume of material. Most beginners toss in whole items (a full banana peel, an intact cardboard sheet) and then wonder why decomposition feels slow — cutting materials into 1-2 inch pieces before adding them is a simple, underused speed-up.
What should beginners avoid putting in a compost bin?
Meat, dairy, and oily foods attract pests and decompose poorly in a standard backyard bin — stick to plant-based kitchen scraps. Diseased plant material can spread pathogens back into your garden once the compost is used. Pet waste from cats and dogs carries pathogens unsuitable for a home compost system.
Glossy or coated paper and cardboard often contain plastic-based coatings that won’t break down and contaminate the finished compost. When in doubt about a specific item, a quick search for ‘compostable: [item]’ before adding it avoids most common beginner contamination mistakes.
FAQ: Composting for Beginners Questions, Answered
How do I know when compost is actually finished?
Finished compost looks dark, crumbly, and uniformly earthy — you shouldn’t be able to identify the original food scraps or leaves anymore, and it should smell like forest soil, not like anything you put in.
Do I need a special bin, or can I just pile it in a corner?
An open pile works fine functionally, though an enclosed bin or tumbler keeps pests out and retains heat and moisture better, which speeds up the process — the bin type matters less than the browns-greens ratio and turning frequency.
Can I compost in a small apartment without a yard?
Yes — a countertop bokashi system or a small worm composting (vermicomposting) bin both work in limited space and process kitchen scraps without needing an outdoor pile.
TL;DR:
- Aim for roughly 2-3 parts browns to 1 part greens by volume — most failures are greens-heavy
- Bad smell means too wet or too little airflow; add browns and turn the pile
- Moisture should feel like a wrung-out sponge, not dry or dripping
- Chopping materials smaller and turning regularly can cut composting time from months to weeks
- Skip meat, dairy, diseased plants, pet waste, and glossy coated paper
Composting problems almost always trace back to ratio, airflow, or moisture — get those three right and the rest mostly takes care of itself.
Keep Reading
This article is for general informational and styling purposes only. Fit, sizing, and product availability may vary.